How to build a multitrack recorder!
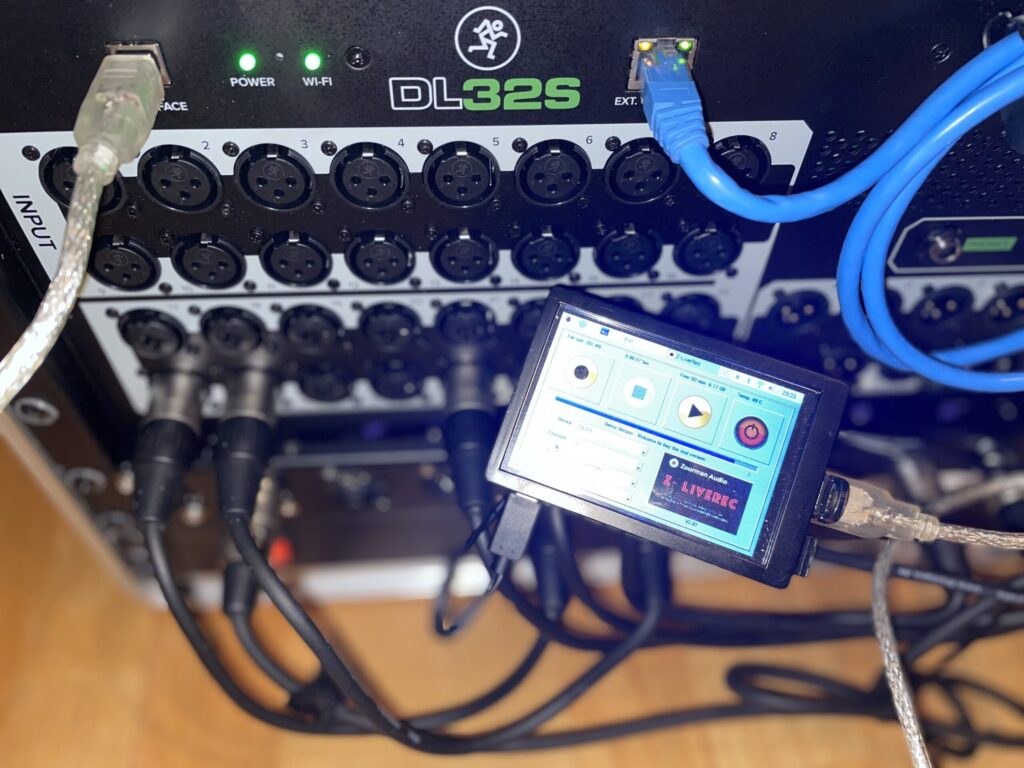
To create your own smooth multitrack recorder hardware for mixer consoles like Mackie DL16S/32S/DL32R and Behringer X32/XR18 based on Raspberry Pi 4, the following information is needed:
Updated 2022-05-23
Bill of material:
- Raspberry PI 4, 2MB or more, Raspberry 400 (Raspberry PI 3 B+ will probably work fine also.
- Raspberry Zero 2 W will work but some parts like booting up etc feels extremely slow)
- RP4/RP3 Case with 3.5″ touch display – I recently tried both the steel case and a 3.5” touch display from Waveshare. Waveshare is a bit more expensive but have great support and drivers for Raspberry PI OS – Buster – smooth installation even for non-Unix hackers…which will save you hours!
- https://www.waveshare.com/3.5inch-rpi-lcd-c.htm
- https://www.waveshare.com/pi4-case-lcd-3.5.htm
- 16GB SD Card with Raspbian OS (Latest version – last tested – )
- Raspberry Pi OS (Legacy) with desktop (Bullseye or Buster 32 bit works Raspberry PI 4B with 2GB or 4GB.
- USB 3.2 memory stick / transfer rates above 130 mb/s or a SSD disk. The Sandisk Extreme Go USB 3.2 Flash Drive…(Reads 395 MB/s and Writes 100MB/s) – works great – no buffer issues!
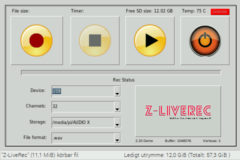
- Z-LiveRec application (Trial/demo or full version)
I have tried both Raspberry PI 4 with screen and case from Waveshare (about $35 + delivery) and also another a approach where I picked up a cheap 3.5″ screen kit on Ebay with case and heatsink for about $15. My recommendation is however to go for the waveshare products which have better drivers and documentation- which will save you hours of configuration. If you create a SD boot card with Raspberry PI OS and uses it with the Waveshare 3.5” screen…you could just follow Waveshare documentation and skip the 2-5 steps below!
The waveshare support page is: https://www.waveshare.com/wiki/3.5inch_RPi_LCD_(C)
To assembly the PI 4, screen in the case with heat sink is pretty straight forward. But how to enable the 3.5″ XP2046 type display via SPI in Raspbian with touch support also enabled? Not completely obvious – there is a lot of confusing information and links pointing to strange driver installations etc…and they all had in common are they never worked – however I found a post written by somebody that had made the journey for real.
The secret remains in the fact that the drivers are already built into the kernel using the latest versions of Raspbian PI OS – Bullseye or Buster. Note: So you don’t need to install any other manufacturer drivers. The only driver needed is for the touch screen part.
Step 1.
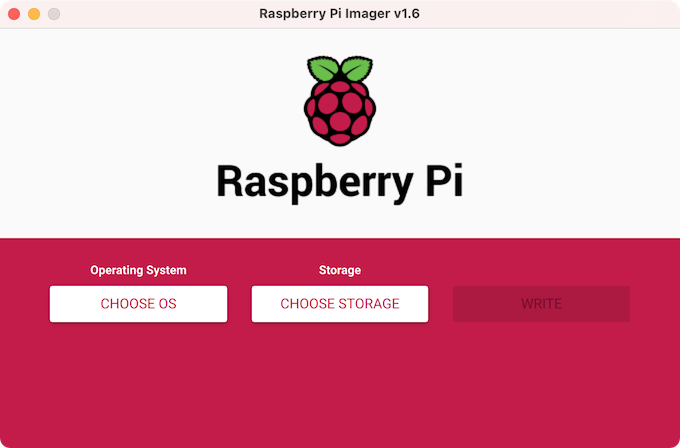
Preparations: Download and install the Raspberry PI Imager app from Raspberrypi.org to your PC or MAC.
- In the Imager app, select the Raspberry PI OS (32Bit)
- Pick Raspberry Pi OS (Legacy) 32 bits versions Buster or Bullseye. (Please note: Z-LiveRec will work on 64 bit version of Bulleye will be launched in V2.25)
- Any type of language on PI OS will work Z-LiveRec. (From V2.24)
- Insert an empty 16GB MicroSD card in your PC.
- Choose storage – select the 16 GB MicroSD card
- Click “Write” to generate the OS MicroSD.
- When ready – install the card into your Raspberry PI and boot it up against a HDMI monitor.
- Follow the generic installation and setup scenario.
Step 2.
First of all enable SPI by using the terminal and the command:
raspi-config
Navigate to ‘Interfaces’ and then enable SPI function.
Reboot if needed through the command in the terminal:
sudo reboot
The touch screen should turn on and be white colored.
Step 3.
Give the following command to update and upgrade Raspbian to the latest:
sudo apt-get update
sudo apt-get upgrade
sudo reboot
To get all the lastest updates of the OS!
Step 4.
Now to modify the configuration file to configure the display:
sudo nano /boot/config.txtThen add this line to the bottom, In the PI4 section, add the following: (For Buster)
dtoverlay=piscreen,speed=16000000,rotate=90(You can comment out the existing #dtoverlay=)
For Bullseye 32 bits: (I had problems with the code above on my 3.5″ display)
#Autogenerated Settings
hdmi_force_hotplug=1
dtparam=i2c_arm=on
dtparam=spi=on
enable_uart=1
dtoverlay=tft35a:rotate=90
Press Ctrl+X, Y, and Enter. (To save the file)
Give the command:
sudo reboot
Important: Unplug your HDMI cable now!
You now see Raspbian booting up on the 3.5 inch screen.
Step 5.(For Buster) – You maybe don’t need it in Bullseye
At this point your mouse and touch screen will probably be moving backwards. In the newer versions of Raspbian (Raspberian Buster) they changed input control from evdev to libinput. You need therefore to install evdev or it will ignore your screen settings found in the conf file 99-calibration.conf configurations.
sudo apt-get install xserver-xorg-input-evdev
sudo reboot
You can now modify your 99-calibration.conf file
sudo nano /usr/share/X11/xorg.conf.d/99-calibration.confCopy and past below
Section “InputClass”
Identifier “calibration”
MatchProduct “ADS7846 Touchscreen”
# Don’t use libinput but evdev for the touch screen and the pen
Driver “evdev”
Option “Calibration” “3936 227 268 3880”
Option “InvertY” “false”
Option “InvertX” “false”
EndSection
Save the file by using the CTRL-X – Y + Enter command.
sudo reboot
Your Raspberry Pi 4 should come up now on the 3.5” Touchscreen and it should be working in the right direction.
Note: If you need to run the raspberry pi on the external hdmi monitor again…just plug-in the hdmi cable again – pretty smooth! (I can be good to try Z-LiveRec with a HDMI monitor first – to see that all is running as supposed it is to!)
You can now install Z-LiveRec app according to the manual.
edgard koopman
Hello, i love your work. But, i have soundcraft expression2 , a mackie dl1608 and on the planning a yamaha dm3.
Could it work on these console’s ?