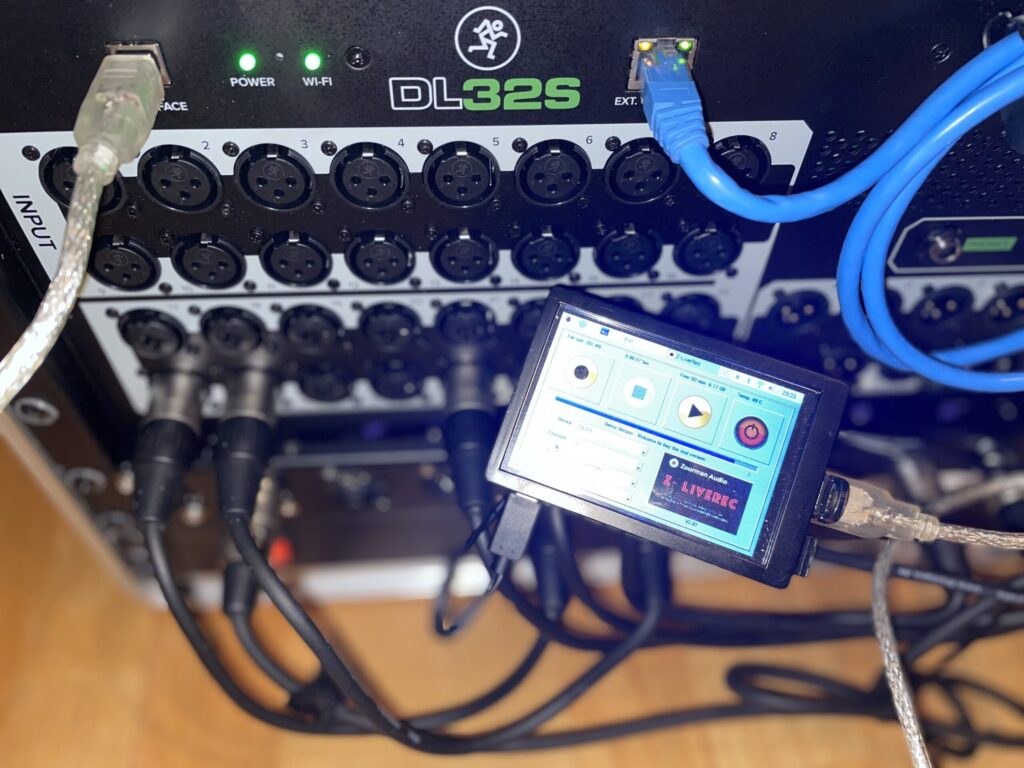
Measuring storage performance on Raspberry PI.
The background for this post was that some Z-LiveRec users experienced problems with USB Sticks formatted in exFAT format and using the resources demanding W64 file format. The idea with using exFAT is the ability to utilize larger storage medias without any limits in file size – compared FAT32 which limit single files to 4GB. W64 is a wav format which is using 64 bits file structure…and supports unlimited file sizes – compared to wav which has a limit on 2GB.
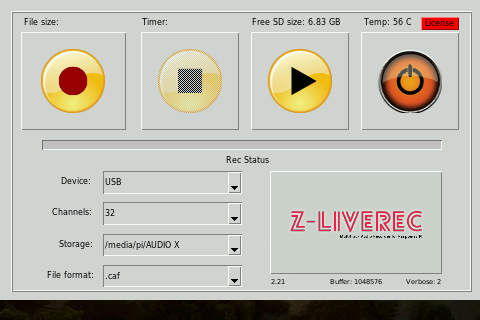
By using W64 on exFAT…Z-LiveRec is able to store multitrack files which easily can be like 22GB for a 1.5h recordings with 48 channels. But it is here some users have started to see problems – a lot of buffer overruns was reported in Z-LiveRec. If selecting less channels – the problem disappears. Note: there is also another unlimited format available in Z-LiveRec called “CAF” (Apples multitrack format) which have the same characteristics as W64 – which seems to run more smooth and is nicer in performance for a Raspberry PI – so one solution is to use this format instead.
But why do W64 report a lot of buffer overruns in exfat? I had to investigate this more in detail – especially if using FAT32 instead – no problem was reported. 🙂
Equipment used:
- Raspberry PI 4B with 2GB RAM.
- Sandisk Ultrafit 64GB, USB 3.1 Stick. (130MB/s for reading and 55 MB/s writing)
- Sandisk Extreme Go 64GB USB 3.2 stick (395 MB read/s and a write speed of 100 MB/s)
- Samsung TEAM SX2 – 120GB SSD drive.
- Behringer XR18
- Raspberry PI OS “10” BUSTER 32 Bit.
- Raspberry PI OS ”11” BULLSEYE 32 bit
First check the version of the Raspberry PI OS used:
cat /etc/os-versionsOk – in theory – can a storage device be measured by Raspberry PI? Yes by moving to the drive you want to measure:
cd /media/pi/$HARD_DRIVE_LABEL
and then execute the following code:
dd if=/dev/zero of=test.bin bs=10M count=100
and the system will show: (Takes a little while)
100+0 records in
100+0 records out
1048576000 bytes (1.0 GB, 1000 MiB) copied, 755.422 s, 1.4 MB/s
The system will show the write speed – e.g. 1.4MB in this case! (Too Slow!)
Ok, using this info and apply it to our storage devices used will give us the following data:
| Device | Filesystem | Write speed |
| Sandisk Ultrafit 16GB on Buster OS | FAT32 | 10,2MB/s |
| Sandisk Ultrafit 16GB on Buster OS | exFAT | 5.9 MB/s |
| Sandisk Ultrafit 16GB on Buster OS | NFTS | 15,7 MB/s |
| TEAM GROUP SX2 SSD over USB 2 on Buster OS | FAT32 | 33,8 MB/s |
| TEAM GROUP SX2 SSD over USB 2 on Buster OS | exFAT | 36,8 MB/s |
| TEAM GROUP SX2 SSD over USB 2on Buster OS | NTFS | 30 MB/s |
| Sandisk Ultrafit 16GB on Bullseye OS | exFAT | 15,3 MB/s |
| Sandisk Extreme Go 64GB USB 3.2 stick | exFAT | 12,6 MB/s |
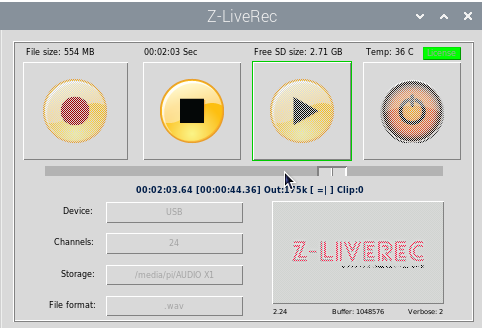
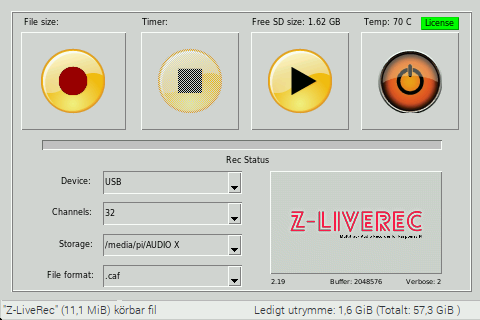
Ok, when used these storage types in Z-LiveRec with w64 format!
| Device | File system | Recording size | buffer size | channels | Buffer Overruns |
| Sandisk Ultrafit 16GB on Buster | exFAT | 6GB | 1MB | 48 | 6 |
| Sandisk Ultrafit 16GB on Buster | exFAT | 4GB | 1MB | 18 | 3 |
| Sandisk Ultrafit 16GB on Buster | exFAT | 4GB | 256K | 18 | 1 |
| Sandisk Ultrafit 16GB on Buster | exFAT | 16GB | 256K | 18 | 16 |
| Sandisk Ultrafit 16GB on Buster | exFAT | 16GB | 128K | 48 | 17 |
| Sandisk Ultrafit 16GB on Buster | NTFS | 16GB | 1MB | 32 | 10 |
| Sandisk Ultrafit 16GB on Buster | NTFS | 16GB | 1MB | 18 | 0 |
| TEAM SX2 on Buster | NTFS | 22GB | 1MB | 32 | 8 |
| Sandisk Extreme Go 64GB on Bullseye | exFAT | 15GB | 1MB | 18 | 0 |
Conclusion
ExFAT seems to have performance problems in Buster…but works great in Bullseye! It seems like a faster USB stick makes great improvements to the write speed. Another recommendation is to use Sandisk Extreme Go USB 3.2 Flash drives with 64GB – which has a read speed of 395 MB read/s and a write speed of 100 MB/s. Compared to the Sandisk Ultra Slim Fit – which has a read speed on 150MB/S and a write speed on 55MB/S – the Extreme GO USB stick can improve the situation with experienced buffer overruns a lot! (e.g Zero overruns!)